

Similar Categories
What is a Vapour Control Layer (VCL)?
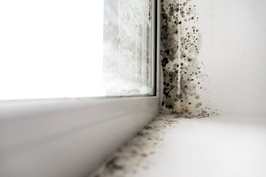
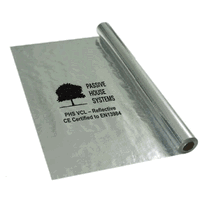
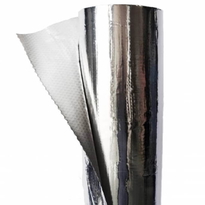
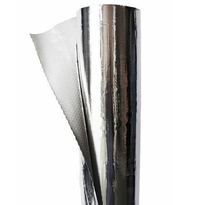
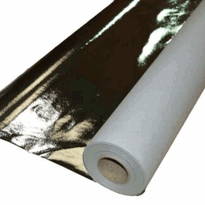
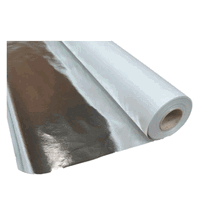
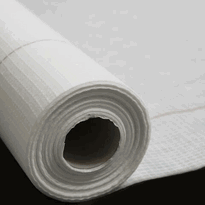
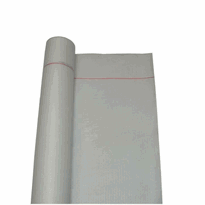
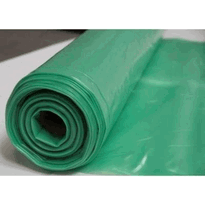
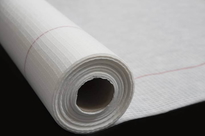
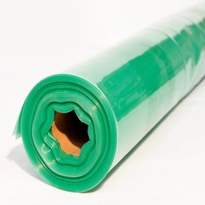
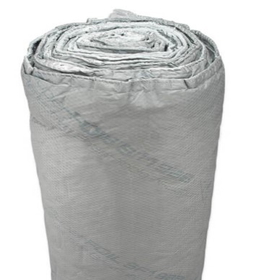
A vapour control layer (VCL) is a plastic layer that acts as a vapour barrier, preventing moist air from inside a property from reaching the cold outer surface where interstitial condensation can occur. This reduces the risk of damp-related structural issues and is essential in both new build timber frame constructions and existing properties.
Why is a VCL Required?
-
Prevents water vapour from passing into the building fabric.
-
Reduces the risk of condensation within a property’s structure.
-
Protects insulation and timbers from moisture damage.
-
Ensures compliance with damp proofing and ventilation systems regulations.
-
Ideal for ground floor applications, suspended timber structures, and wet screed environments.
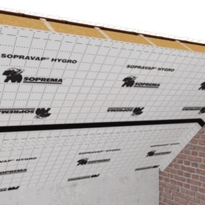
Where Should a VCL Be Installed?
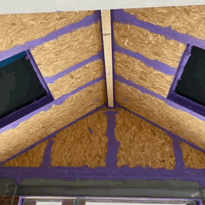
A VCL is installed on the warm side of the insulation wedged between the timber. This placement ensures that moist air from inside the property does not come into contact with the cold side of the insulation, where condensation could occur.
Common applications include:
-
Loft insulation
-
Floor is sealed with a VCL for short
-
Walls and ceilings in new build timber frame structures
-
Screed or concrete flooring installations
How to Install a VCL Properly
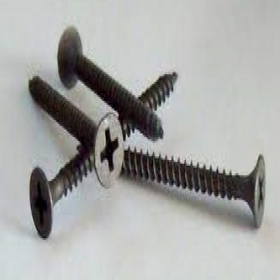
Step 1: Secure the VCL
-
The VCL is stapled to the timber or other structural elements.
-
Ensure it is fully sealed with the appropriate VCL tape to prevent penetration.
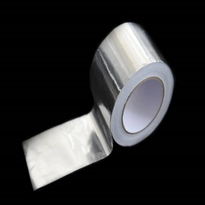
Step 2: Sealing the VCL
-
Use single sided foil tape to seal joints and edges.
-
None of the joints should be left exposed—seal everything to prevent moist air from entering.
-
Expanding foam can be used around difficult areas.
Step 3: Finishing the Installation
-
The VCL is sealed against wet screed or structural elements.
-
In case of a suspended timber floor, ensure adequate ventilation systems.
-
For non-permeable roofing felt, check compatibility with your vapour membrane.
Choosing the Right VCL Tape
Using VCL tape is essential to create an airtight seal. Options include:
-
Single sided tape for overlaps and joints
-
Vapour control layer tape to secure penetrations
-
Sealed with single sided foil tape for added durability
Final Thoughts
Installing a VCL is required in most building fabric applications to maintain a manageable level of moist air from inside a property. Whether for damp proofing, loft insulation, or flooring applications, a vapour membrane is critical in protecting your home’s structure.
For expert advice on choosing the right VCL or placing an order via your Building Superstore account, contact us today!